Smart Home Journey Part 2
BrianSnelgrove - May 25, 2024Posted Under: Smart Home
Part II
Welcome to the second part of this series. Whether you've
already read the overview of my journey at https://www.dr-b.io/post/My-Smart-Home-Journey
or are diving in here, these add-on posts are designed to delve deeper into the
topics I introduced in the original post. Please note: there are tips in the
first article that are related to this article but not discussed in this
article.
How To Host
If you look at Reddit (https://www.reddit.com/r/homeassistant/), you will see some heated information about how to host Home Assistant. I have tried all three of the primary methods:
- Bare metal – with Home Assistant installed directly on a Raspberry Pi
- Docker – with Home Assistant installed as a docker image on my Synology device
- Virtual Machine – with Home Assistant installed as a VM on a hypervisor
I have had the best luck with the Virtual Machine route and
recommend using it to anyone who wants to wade into the DIY home automation
world. There will be the standard added complexity, another OS to manage, or additional
processing overhead arguments against putting Home Assistant in a VM. I
understand their arguments, but the benefits far outweigh the potential
drawbacks.
I recommend Proxmox (commonly referred to as PVE) for my
hypervisor. I have used Oracle Virtual Box, and tinkered with XCP-NG and VMware
(don’t get me started on their licensing since Broadcom purchased them), but I
recommend PVE due to its low cost (free) and relatively shallow learning curve.
You will have to do some web searches and learn new skills, but in my opinion,
it is worth it.
With Proxmox as your hypervisor, setting up a clean instance
of Home Assistant is a breeze. In just 30 minutes, you can have Proxmox
installed, updated, and a new (or fully configured restoration from backup)
instance of Home Assistant up and running. There are even cheat codes for each
step! While there are plenty of guides available online, here's one for your
convenience: https://www.derekseaman.com/2023/10/home-assistant-proxmox-ve-8-0-quick-start-guide-2.html
Home Assistant is Installed. Now What?
This is where you start having fun! This is also where you start having to make real decisions. If you want the easiest path forward, you should start with a couple of WiFi-based smart outlets or switches. I have had good luck with tp-link kasa devices, which are easily integrated into Home Assistant.
- Outlet: https://a.co/d/1hQ5s7m
- Wall switch: https://a.co/d/0dnrkTm
Again, there are many guides on the interwebs, and I am not trying to reinvent the wheel. A quick search will point you toward adding integrations and devices to your Home Assistant. Once you have your WiFi devices in Home Assistant, start simple and work towards more complex automations. Need a few suggestions on where to start? How about these:
- Turn a light on at dusk and off at dawn (I use this on myself).
- Turn on your AC-powered air fresheners at dawn and off at 23:00 (or whenever you go to bed) so you don’t waste the nice smell when you sleep (I also use this one).
- Turn on the coffee maker just before you wake up and turn it back off an hour later.
- Send yourself an email/telegram/x (Twitter) direct message if rain is in the forecast for the day.
- Roomba (or other brand) robot vacuum cleaner? Use Home Assistant to make it run twice daily when you are not home (more on this later).
The Road to Complexity
After you add your first few devices to Home Assistant, you will eventually decide you want to control more things. Eventually, you will need another way to connect devices. Zigbee and Z-wave have entered the chat. I have not used Z-wave devices, but I have several Zigbee devices. My recommendations:
- The ZHA (Zigbee Home Assistant) integration will work, but I have found that zigbee2mqtt (https://www.zigbee2mqtt.io/) is more robust and reliable.
- Use a quality Zigbee USB dongle.
- Start with a few Zigbee smart plugs to extend the network and allow more devices on the network.
- Add a few light bulbs to the network.
- Add a few switches and/or motion sensors to the network.
Let's start with that first point. It can seem overwhelming, but if you used PVE for your Home Assistant installation, https://smarthomescene.com/guides/how-to-separate-zigbee2mqtt-from-home-assistant-in-proxmox/ will guide you step-by-step through the installation and configuration process. It is easier than it seems. It's time to add a few devices!
- Dongle: https://a.co/d/fzz6rS8
- Outlet: https://a.co/d/fzz6rS8
- Switch: https://a.co/d/gQMtDnM
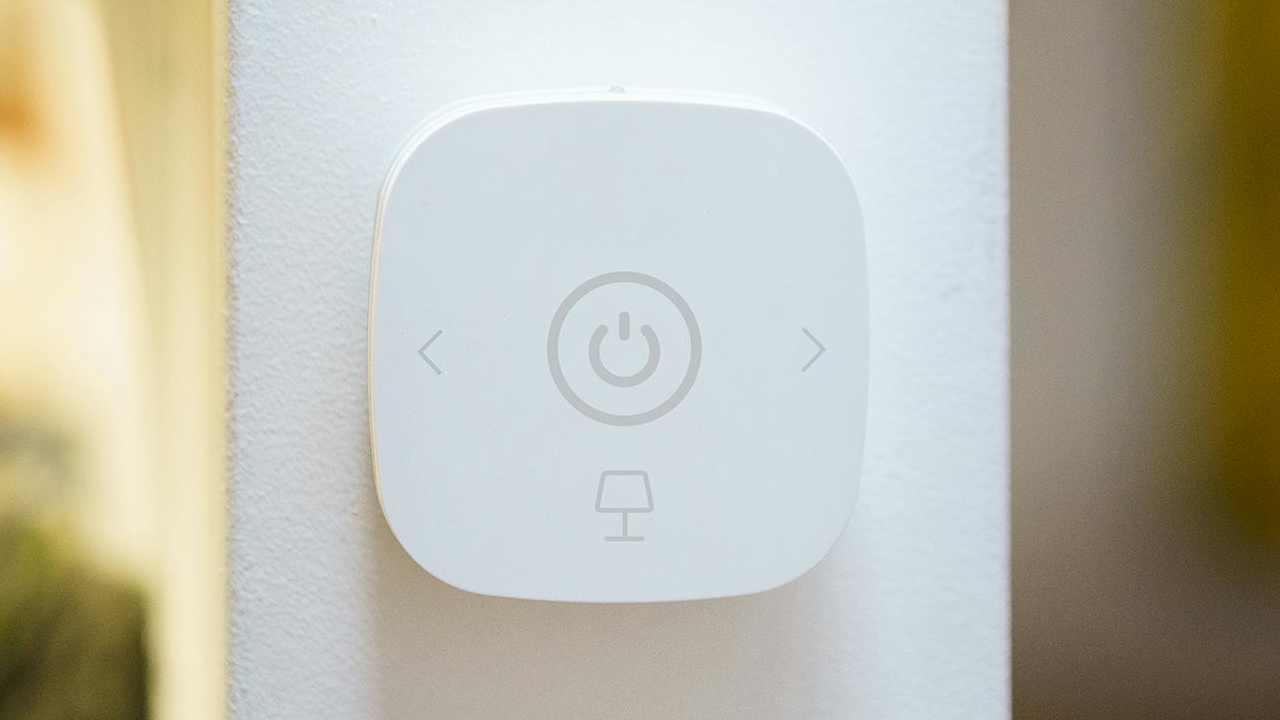
- Scene Switch: https://a.co/d/4Hd2oIQ
- Motion Detector: https://a.co/d/6v88TFS
- Light Bulb: https://a.co/d/hrDU5wL
I have used all of these devices (and more). They all integrate into zibee2mqtt easily and are essential to my Home Assistant installation. So, now that you have zibee2mqtt set up and your devices are talking to Home Assistant, you can add to your automations!
- When motion is detected, turn on a light. Think laundry room or stairs.
- When a switch is pressed once, turn on/off lights in a room.
- When a switch is pressed twice, turn the lights on/off in another room.
- When a switch is pressed twice, turn on lights at 10%. Think of a bathroom at night.
- When you leave/return home, turn on/off lights. (more on this in a later article)
To give you an idea of my current but ever evolving Zigbee network looks like:

Take some time to experiment and learn. In the next article, we will dive into a few more topics; see you then!