Label Your Cables
BrianSnelgrove - September 23, 2021Posted Under: Networking
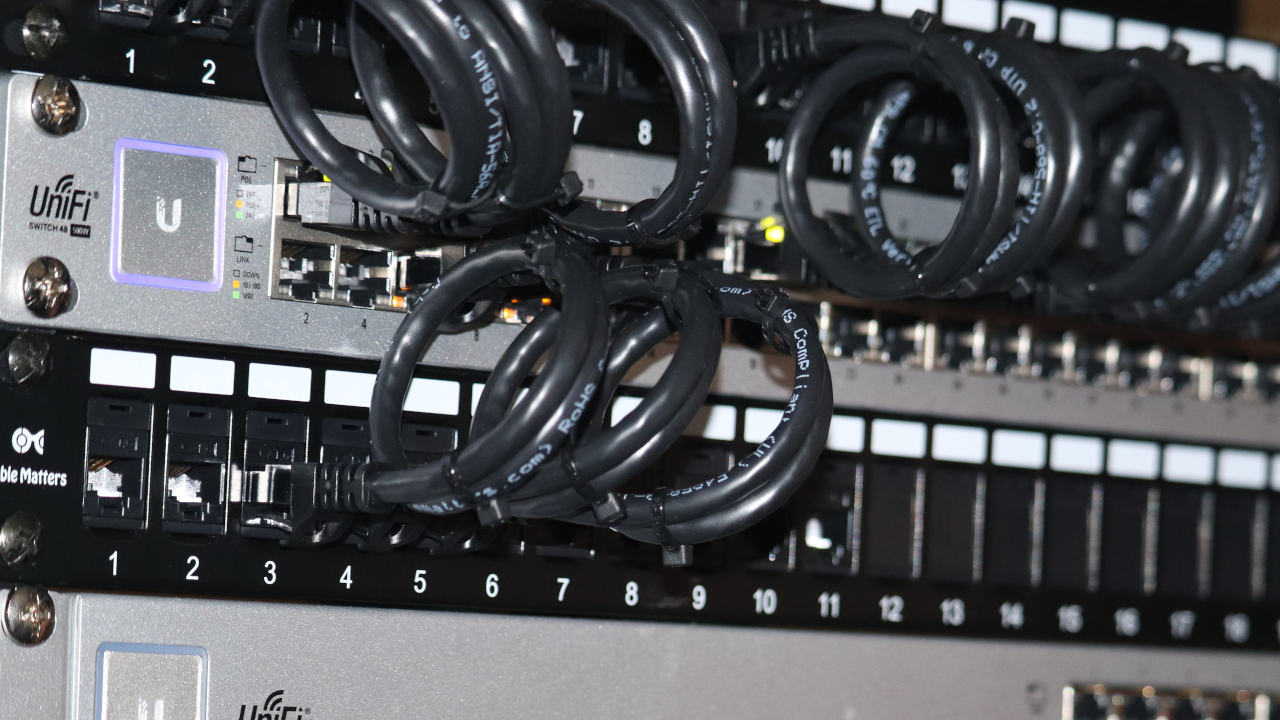
Label your cables.
If you have more than a few things hardwired to your network you should consider labeling your cables. If you are trying to track down your cables shrink wrap labels make things so much simpler. If you are making your own cables getting shrink wrap on them is easy – just slide the labels on before you crimp on the RJ-45 connectors.
If you are using premade cables things are not quite as simple. Heat shrink tube that will fit over the RJ-45s may not shrink enough to tightly hold the cable. Heat shrink that will shrink enough to hold the cable tightly will not fit over the RJ-45. What do you do?
Stretch the heat shrink!
While we are taking about printable heat shrink tubing for network cables this method will work for nearly all heat shrink tubing. The idea is really simple but it can be a pain! We will be using smooth chop sticks that get larger towards the end; pushing them into the heat shrink for opposite directions and use them to expand the tube.
Lets get started:
First off, you need some printable heat shrink tubing and a label maker. I am using a Dymo Rhino 4200 label maker and ¾ inch (19mm) printable tubing.


I chose 22pt font for the label. That makes the font large enough to easily read but not waste too much of the heat shrink tubing – this stuff can get pricey and you don’t want to waste it! You can clearly see the tubing is not going to fit over the RJ-45.

Start with two chopsticks pointing in two different directions. Push/pull them through the tube to the end of the chopsticks. It looks like the tube will be stretched enough to fit over the RJ-45 but the tube will shrink shrink some as soon as you pull the chopsticks out.

Time to double up! Put two chopsticks in one side of the tube and the other two in the other side of the tube. Slowly work them through the heat shrink until the large end of each chopstick is in the tube.

Now we are ready to work the tube over the RD-45!


Add some heat (don’t get impatient and use a lighter like I did) and boom you have nice labels that are easy to read and will make it easy to identify your cables!

Alternatives are cheaper and easier.
You can always use standard labels on the cables. They can be attached two different ways - along the cable like heat shrink labels or "flag" style. The ribbon is much cheaper than the heat shrink. You don't have to fight with stretching the heat shrink. Very true points, but the finished product is not as durable or look as nice. If you put the labels along the cables they have a tendency of falling off. Putting some clear tape over/around them will help or a few drops of super glue will help. If you use the flag method the labels will (usually) stay put but if you spent a lot of time with cable management flags hanging off the cables will ruin the look of your hard work.