Duet 3D Printer TimeLapse V2
BrianSnelgrove - November 28, 2020Posted Under: Maker
The problem:
Marlin based 3d printers, while they work, can be a bit of a pain to update. They usually have modular stepper drivers that require manual adjustment and, in my experience, most printers do not ship with the best drivers. The drivers certainly work, but they tend to leave artifacts in your prints. If the drivers are not properly adjusted, they will cause your stepper motors to scream and run very hot. Many users add OctoPrint into the mix to help overcome some of the Marlin-based printer boards' shortcomings. OctoPrint provides a nice web-based interface and connects a webcam to monitor and record your prints.
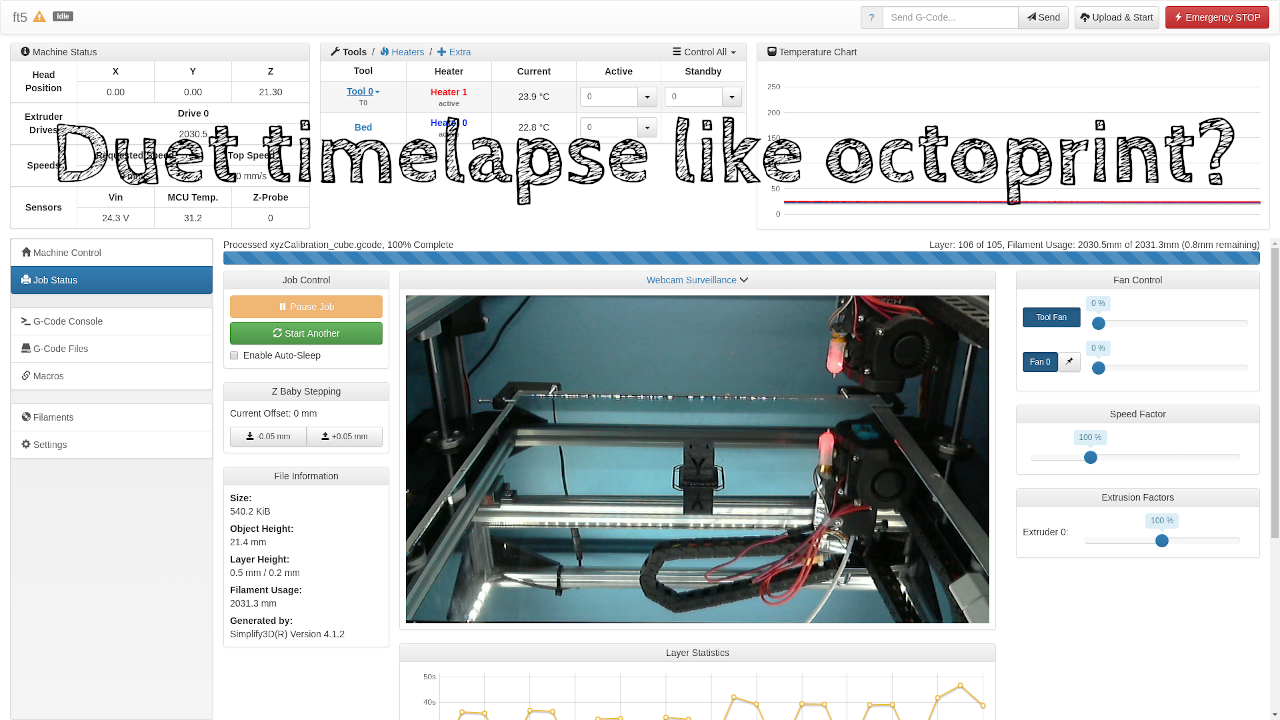
Upgrading to a Duet board addresses most of the shortcomings of Marlin based boards. Duet boards are stable, reliable, and robust. The RepRap firmware provides a very nice web-based interface to interact with your printer. The stepper drivers on the board are great as they provide the smooth movement you want with a 3d printer with very little stepper noise. Configuration files control virtually everything on the boards to update and save directly in the web-based interface. The shortcoming of the Duet boards is the lack of built-in webcam support.
The Solution:
Add a Raspberry Pi, or any Linux based computer for that matter, with a cheap webcam to take care of the timelapse recording of your prints. I had already posted a guide outlining how to achieve this, but I wanted to try something different. My old guide relied on several Linux software packages that are not installed automatically with Raspberry Pi OS (mjpg-streamer, curl) and a bash shell script to control the process.
Based on feedback from the prior guide, I decided it was time to do things a little differently. I also wanted to play with python, so this appeared to be a good opportunity. This solution will monitor the Duet using HTTP requests. When the process determines the printer is active (status = P) it will then monitor the Z-axis height. When the process detects a different Z height it will take a still image using a webcam. The process will detect the Duet changing to idle (status = I) and use ffmpeg to combine all of the still images into a single mp4 video. After the video has been completed the process will clean up behind itself and delete the still images and wait on the Duet to report it is actively printing to restart the cycle.
The shortcoming (in my opinion):
The prior solution, using mjpg-streamer, provided a video stream that could be displayed in the Duet web interface. This solution does not provide that. For me, this is not that big of a deal since I never start prints remotely and most of the printing issues I have will happen in the first couple of layers. I rarely used the video stream to monitor prints remotely so that feature will not be missed.
Let's get started!
There are plenty of guides on setting up a Raspberry Pi; I don't think I could do a better job than they did; I will let you decide what setup guide you want to use and handle that part on your own. I would recommend a clean Raspberry Pi OS installation based on the full installation. Granted, we will not be using the GUI, and all of the commands that we are sending to the Pi will be in a SSH session, but I do like the option of having a full desktop and all of the basic applications available if needed. Go ahead and get that Pi set up, updated, and make sure you can connect using SSH.
To make things a little simpler this time around, I am not using git to post the source code in this guide, but the source IS posted to git just if you want to go that route (available here). You can download it directly from this website here, or you can use the following commands to download it directly on your Pi in an SSH session using wget:
mkdir dmcv2
cd dmcv2
wget https://www.dr-b.io/files/dmc.py
Those commands will make a directory for dmcv2 (/home/pi/dmcv2 if you are using the built-in pi user), move into that directory, and download the python script that is used. Next, make sure the webcam is plugged in. I am using an old Logitech C920 that I had lying around, but just about any webcam should work. The webcam *should* be available at /dev/video0, but you can test that with the following command (should be entered on one single line):
ffmpeg -f video4linux2 -video_size 1920x1080 -i /dev/video0 -f image2 -frames:v 1 -update 1 -y test-image.jpg
You should get a bunch of output, but you will have a file called test-image.jpg in the dmcv2 directory we created earlier when the command is done. Go ahead and open that file to make sure you got a good picture. Side note: I use Linux based computers, and I like to use sshfs to connect to remote directories to transfer files easily. If you are using Windows, you can use WinSCP to get an FTP-like interface using SSH so you can transfer files around. Go ahead and use one of these methods; you will need them again to get your completed videos off the Raspberry Pi once we have the software working. There are some reports of "green" images when using ffmpeg to capture a still image from some webcams. If you experience that, try the following command (should be entered on a single line):
ffmpeg -f video4linux2 -video_size 1920x1080 -i /dev/video0 -f image2 -frames:v 3 -update 1 -y test-image.jpg
Process commands:
To run this process, we must supply a couple of arguments. You can review these arguments at any time by using the -h or --help arguments. Only the first two arguments below are required, but the rest can further tweak some of the settings.
- -c or --camera to identify the webcam source (usually /dev/video0)
- -p or --printer to identify the URL of your Duet board (IP address or network name)
- -h or --help to show the arguments that the script accepts
- -v or --verbose to turn on verbose output to help you troubleshoot in case there are issues
- -s or --skip to skip x number of images at the beginning of the print (ex: skip bed leveling process)
- -t or --timer to adjust how often the script looks for Z index changes during the print (default is 30 seconds)
- -f or --framerate to adjust how FFmpeg combines the still images into a video (default is .15 seconds)
- -i or --imagecount to adjust how many still images ffmpeg takes (if you had a green screen issue above)
Let's try to run the full process for the first time. We will be using the --verbose output for this test to get more information about what is going on in the background. This command assumes you are using the default pi user; if you are using a different account change the path accordingly and make sure you enter your printers IP address or network hostname (all on one line):
python3 /home/pi/dmcv2/dmc.py --camera /dev/video0 --printer http://IP_OR_HOSTNAME --verbose
You should be presented with the following output:

If the script does not give you any output for 10 - 15 seconds and complains about the printer being offline please make sure you have the correct IP address or network name entered. If there are no complaints, go ahead and start a simple print so you can monitor the script output. Something small and simple would be best. I like to use 20mm calibration cubes for these simple tests since they print pretty quickly and do not waste a lot of plastic.
As the print is running, you should see the output on the screen indicating the printer status (I for idle, P for printing, etc.) Z position of the printer, when snapshots are taken, etc. Side note - let me know if you think additional information would be useful - temperatures, X or Y position, etc.

When the print completes, you will see the script's output indicating that the video has been created (depending on the number of images, this may take a couple of minutes), still images that were deleted, and the final filename that was used for the completed video.

Press CTRL+C to exit the script. Look in the dmcv2 directory to see if the still images have been removed and the video is in the directory:

And the test video that I created:
Now what?
Now that we have done a test recording and it is working we can have two choices:
- Manually launch the script before each print
- Automagically launch the script when our Pi starts
If you don't print things very often, or if you use the Pi for other purposes, it may not be worth keeping the script running all the time. If that is the case, you can quickly start the script whenever you want to record a print with the following command (remember to update the path, camera, and the printer IP/network name):
python3 /home/pi/dmcv2/dmc.py --camera /dev/video0 --printer http://IP_OR_HOSTNAME
When the print is done, copy the file and go on your merry way. If you use the printer regularly, you can have the script automatically launch whenever your Pi boots. Many tutorials show you how to start something when the system boots; use the command above with whatever method you choose (crontab, rc.local, autostart, systems, etc.).
Feedback is important!
Let me know what you think about this project. Your feedback is important; it lets me know what needs to be improved upon and what issues you encounter when trying to do this yourself. If you leave a comment, I will try to respond as quickly as possible - though it may take a couple of days in some cases. I did enjoy this learning experience. This was the first python-based project I have worked on. Most of the code is well commented. Get in there and see if you can make it better!
What I used:
- Raspberry Pi 4B: https://www.amazon.com/dp/B07V5JTMV9
- Argon1 Neo case (I really like these things!): https://www.amazon.com/dp/B07WMG27T7
- Logitech C920 webcam (they are in short supply but just about any webcam should work): https://www.amazon.com/dp/B006JH8T3S
- Power over Ethernet adapter for the Pi: https://www.amazon.com/gp/product/B07YB1JF2G
- Visual Studio Code (Yes, Microsoft IDE in a Linux environment): https://code.visualstudio.com
Brian Snelgrove - January 5, 2021
Thank you, Patrick, I will look into this. Unfortunately, I have already re-purposed the Pi I was using to capture my printer images. I will try to get one reconfigured and see if I am able to replicate/resolve this issue.
PatrickYeung - January 4, 2021
The file name problem is still here, this is the error as below
FileNotFoundError: [Errno 2] No such file or directory: '0:/gcodes/dz2dt_ultimakerpicammount_v022_2021_01_04_14_25_09.mp4'